Middle Body Techniques

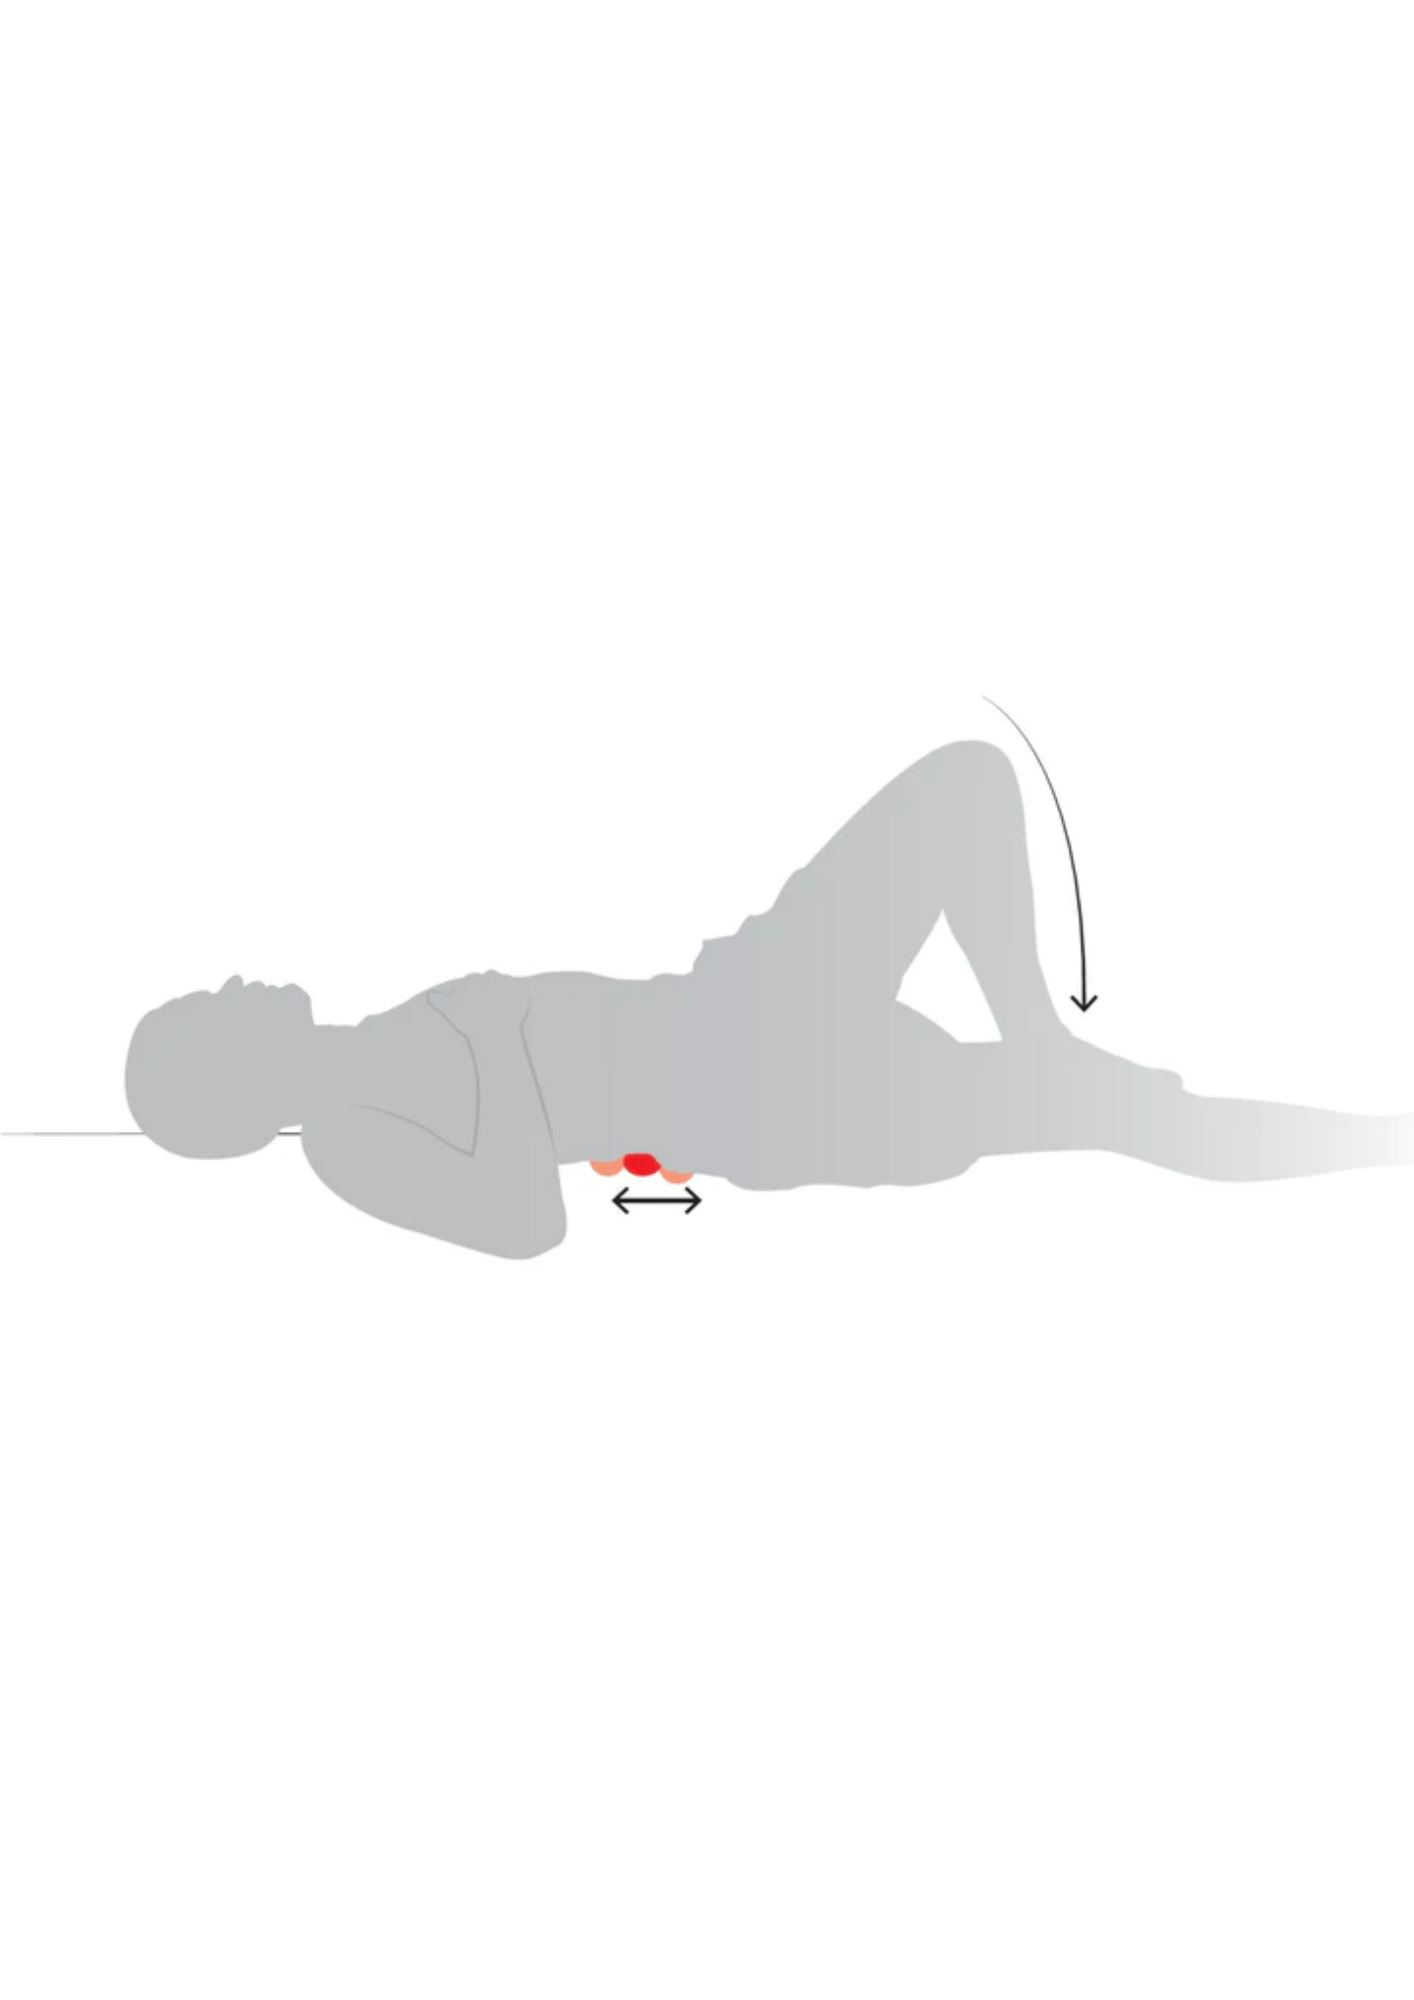
Spine Roll
- Place the balls at a suitable distance apart for you. For example, you may need the balls to be as close as possible at the top of your spine, and 1-3 cm apart by the time you reach the base of your spine.
- For those starting out, begin by standing against the wall with the balls on either side of your spine. As you find you want more pressure, try lying with the balls on either side of your spine on the ground.
- Begin with the balls at either the level of your sacrum or top of shoulder and work up or down as required.
- Rock back and forth over your spinal muscles (only a few centimeters movement) then reposition the balls between each vertebra and repeat.
- You can do small chest lifts or pelvic curls at tighter points, adding mobilization to the release – however only treat as deeply as you are able to relax your muscles over the balls.

Psoas Roll
- Place the ball on the midpoint of the diagonal line between your hip bone and navel.
- Lie on the ground with the ball between you and the ground, moving the ball in small increments if you haven’t hit the spot straight away.
- When you find a tender point, start with small rocks on this point, again with a focus of relaxing the muscle over the ball.
- If this isn’t enough to release the soreness, you may wish to extend the leg on the side of the ball away and up from the hip joint. A rise of 10-20 degrees is plenty. Alternatively, you could try extending away and up with your chest. In both movements, watch that your low back remains stabilized, that is, the movement is coming from your hip or mid back.
QL Roll
- Against the floor or wall, place the ball on one side of your spine, between the bottom of your ribs and top of your hips.
- Rock back and forth in small increments over the area, twisting gently toward the side of your treatment. If on the ground, bend one knee and use the weight of the leg to add pressure onto the ball.
- You may find that you need to attend to both sides of the waist before a good release can be achieved on the more painful side. Work with your breath to encourage relaxation over the ball at tender points in the muscle.
More Techniques
-
Upper Body Techniques
Explore Upper BodyTechniques to release tension in your arms, neck, shoulders and anywhere else above the chest!
-
Lower Body Techniques
Explore Lower BodyTechniques to relax your hips, glutes, feet and anywhere else from the waist down.